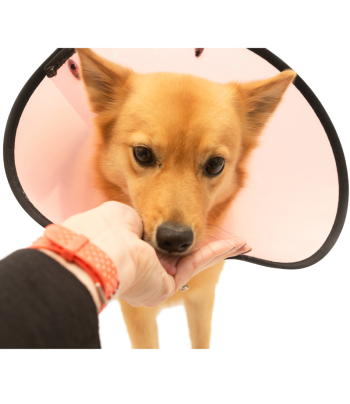
An Elizabethan collar, E collar for short or pet cone (sometimes humorously called a pet lamp-shade, pet radar dish, or cone of shame) is a protective medical device placed around the head to prevent an animal from licking or biting at a surgery site, wound, or bandage.
It is a very useful tool after surgery, such as spaying or neutering. It is natural for a dog to lick his wounds, but this can seriously delay healing and result in infection or injury. So it is important that a protective collar is used, especially when the dog is unattended and could inadvertently injure himself.
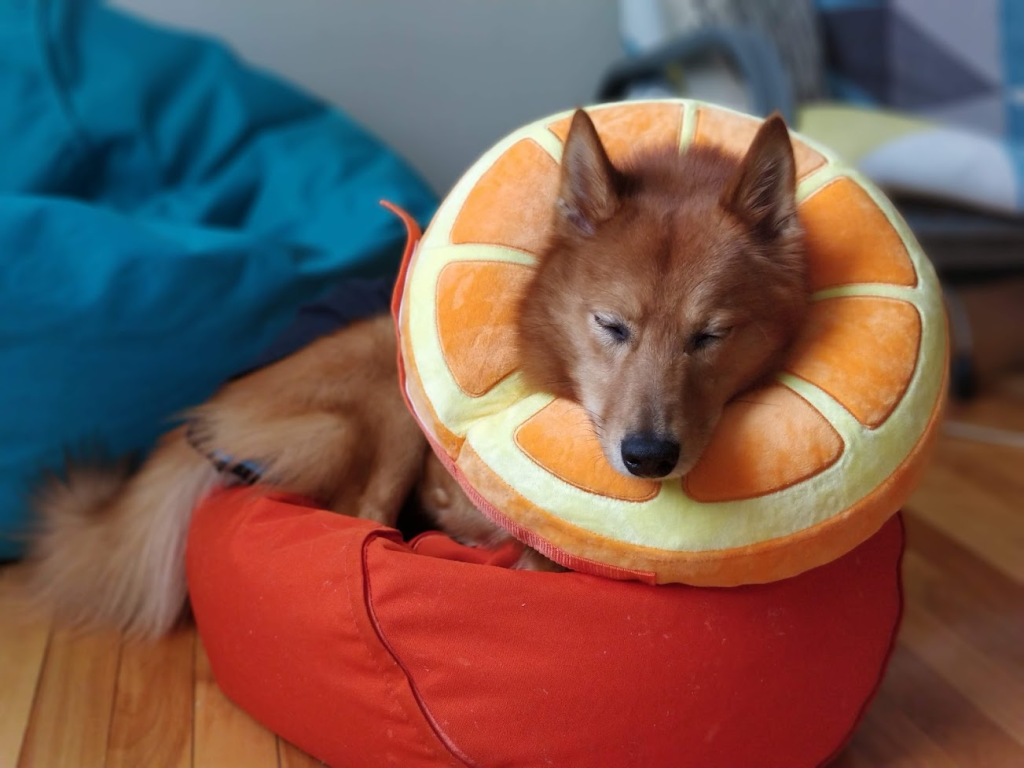
I did photograph the experience with Kaori who never had to wear an Elizabethan collar before. Most Finnish Spitzes are food motivated like mine. It makes things far easier for us and for them!
Teaching your dog to love the cone
By Sandra Robbins BS, CVT, VTS (Anesthesia & Analgesia), CPDT-KSA, KPA-CTP
Date Published: 01/10/2022
Elizabethan collars (sometimes referred to as “cones
of shame”) are necessary tools to keep pets from
licking a surgical site, wound, or hot spot; chewing off
bandages or splints; or scratching their ears or face.
By desensitizing your dog to wearing a cone, it will
be less stressful for your pet if and when they need
to use one. Several types of cones are available, some
of which are more comfortable for the animal.
The method detailed below is illustrated with a clear
plastic cone and a dog but it works for all types of
cones and applies to both dogs and cats.
Getting your pet used to the cone:
Desensitization is only effective if your pet remains
calm. If your pet becomes distressed, you will need to
find a way to make the training easier.
STEP 1- INTRODUCTION
• Leave the cone assembled in a corner of a familiar
room
• Place it wide part down so that it is least likely to
move
• Put treats around the outer rim of the collar
• Once a day, check on the cone and put out new
treats, if your dog ate the previous treats
• If your pet is comfortable approaching the cone for
treats, proceed to the next step
STEP 2- INTERACTION
• Lay the cone on its side
• Put treats in and around the cone
• Encourage your dog to approach and get treats from
the cone
• Your dog should see this as a game and want to
move the cone for the treats
• Repeat as necessary to increase your dog’s comfort
with the cone
STEP 3- HOLD THE CONE
• Encourage your dog to approach you while you hold
the cone
• Choose to feed with either the hand holding the
cone or the free hand based on your dog’s comfort
• Gradually work on getting your dog to approach the
narrow opening and eat treats held in a hand in the
cone
• Start with a hand in the cone, eventually moving the
hand away from the narrow opening so your dog has
to place its head through the narrow opening of the
cone to eat the treats
• For dogs who are afraid of the cone while it is in
your hand, back up to step two or try leaving it on the
floor and steadying it with your hand so they can
approach it and eat the treats. You could also try
using a higher value treat.
• Repeat this step, only if your dog is eagerly
participating
STEP 4- HEAD IN THE CONE
• Hold the cone as in step 3
• Have your treat hand inside the cone far enough
away from the narrow opening that your dog has to
put its head all the way through the narrow opening
to get the treats
• Hold the cone so your dog can back out comfortably
without the collar getting stuck on its head
• Repeat this step encouraging your dog to slip its
head in and out of the cone with ease
STEP 5- WEARING THE CONE
• Repeat the process from step 4, but this time allow
the cone to rest on your dog’s neck and feed treats
– If your dog is comfortable, feed treats
– If not, help them out of the cone and then back up
to an easier step
• If they can keep the cone on, encourage your dog to
walk to get a treat
• Repeat this process so that your dog can feel
comfortable wearing the cone and walking around the
house
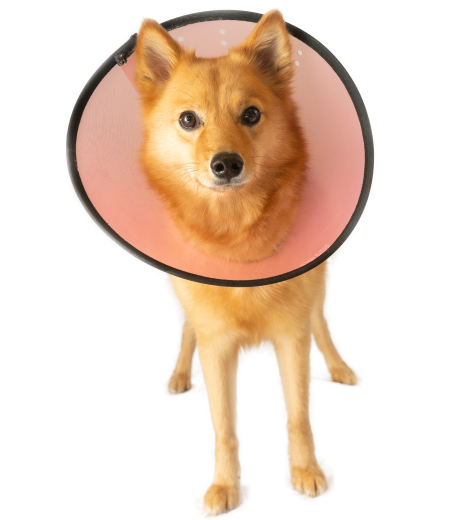
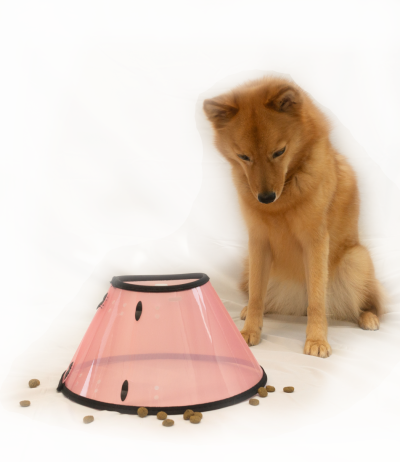
TREATS AROUND THE CONE
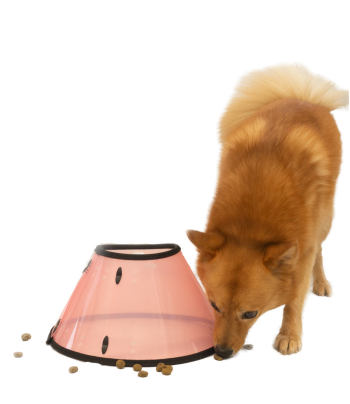
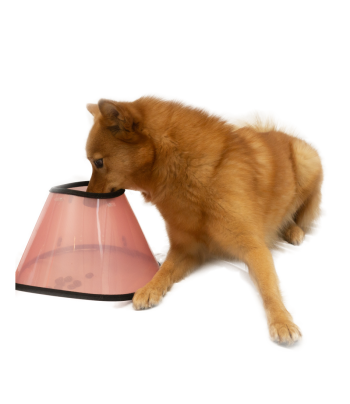
TREATS IN THE CONE
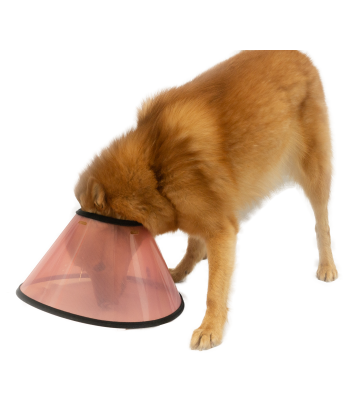
THIS IS CLEARLY A FUN GAME
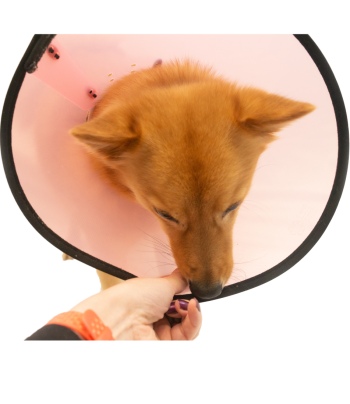
LURE INTO THE CONE WITH TREATS
